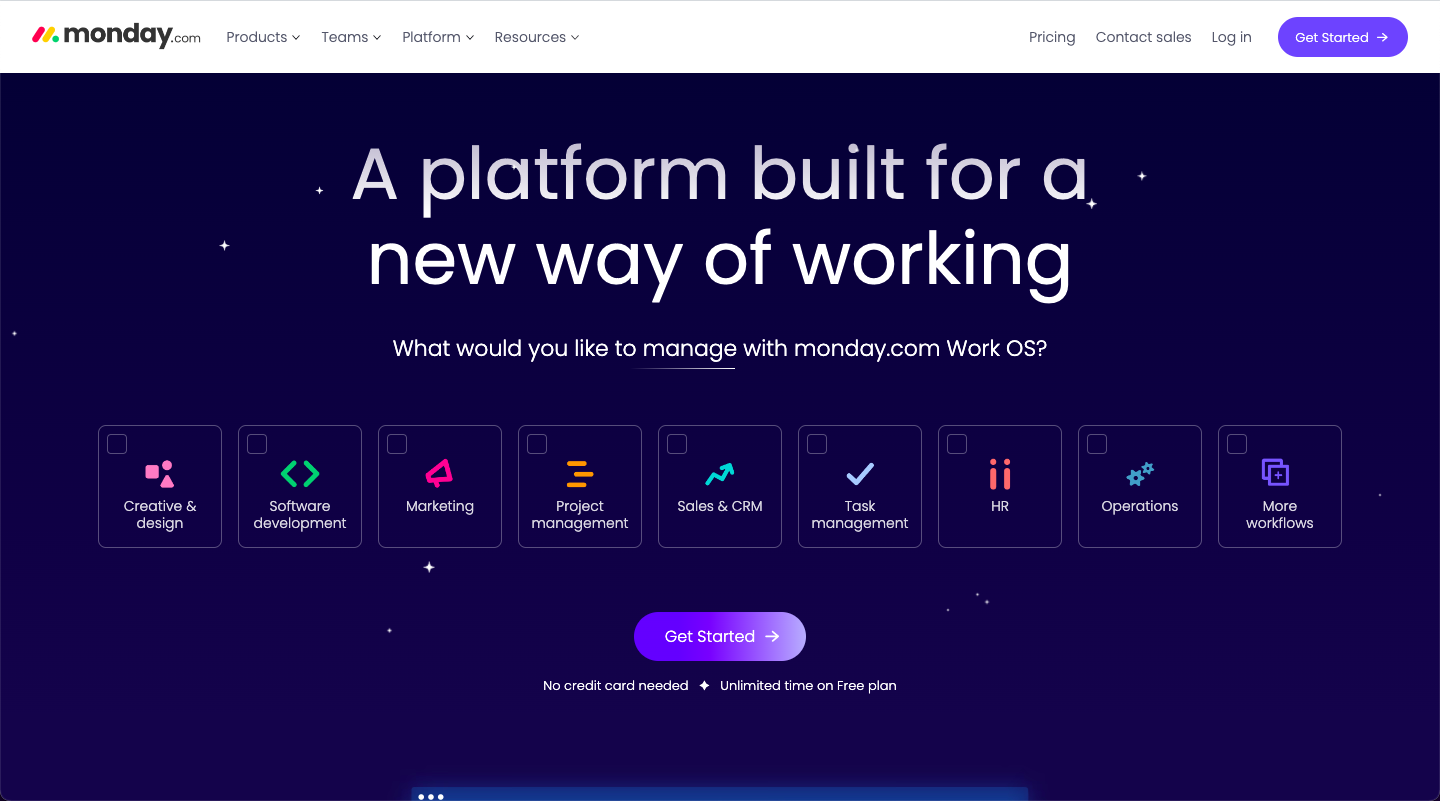
Monday.com is a cloud-based Work Operating System (Work OS) designed to empower teams to manage projects, collaborate, and track progress with confidence. It offers a customizable digital workspace that allows organizations to create tailor-made solutions for their specific project management needs, without requiring any coding expertise.
In this tutorial, we will guide you through the process of using Monday.com to plan, organize, and execute your projects effectively.
Main Benefits of Using Monday.com for Project Management
- Centralized management: Monday.com enables you to manage all aspects of your projects in one place, making it easier to coordinate tasks, track progress, and collaborate with team members.
- Visual representation of project data: Monday.com offers multiple views, such as table, timeline, calendar, and Kanban, to help you visualize project data in the most suitable format for your needs.
- Enhanced team collaboration: Monday.com facilitates seamless communication among team members, enabling them to collaborate on tasks, share ideas, and provide feedback in real-time.
- Automation and integration capabilities: Monday.com offers automation features and integrations with popular tools, such as Slack, Gmail, and Trello, to streamline your project management process and reduce manual work.
- Customizable workflows: Monday.com allows you to create custom workflows tailored to your project management process, ensuring efficient task management and optimal use of resources.
Step-by-Step Guide to Using Monday.com for Project Management
Step 1: Create a new board
To get started, click on the "+ New" button in the left-hand menu, and then select "Board." Choose a project management template or create a custom board from scratch to suit your specific needs.
Step 2: Add columns
Add relevant columns to your board to capture essential information related to your project tasks, such as task name, assignee, due date, priority, and status. To add a column, click on the "+ Add Column" button on the right side of the board.
Step 3: Populate the board with tasks
Enter project tasks, assign team members, and set due dates for each task. You can also attach relevant files, such as documents or images, directly to the task.
Step 4: Customize your workflow
Create custom workflow states, such as "To Do," "In Progress," and "Done," to match your project management process. This will help you track the progress of tasks and ensure efficient task management.
Step 5: Choose a suitable view
To visualize your project data effectively, select a view that best suits your needs. Monday.com offers multiple view options, such as table, timeline (Gantt chart), calendar, and Kanban. To add a view, click on the "Add View" button at the top right corner of the board.
Step 6: Collaborate with your team
Share the board with your team members to facilitate collaboration on tasks, communication, and file sharing. Team members can provide updates, ask questions, and exchange feedback directly on the board.
Step 7: Automate tasks and integrations
Use Monday.com's automation features and integrations to streamline your project management process. For example, you can create automated notifications, set up recurring tasks, or integrate Monday.com with other tools, such as Slack or Google Drive.
Step 8: Monitor and track progress
Regularly review the progress of your project tasks and update the board accordingly. Use Monday.com's built-in analytics and reporting features, such as dashboards and charts, to gain insights into project performance and identify areas for improvement.
In conclusion, Monday.com offers a powerful and flexible solution for managing projects. By following this step-by-step guide, you can leverage the benefits of Monday.com to streamline your project management process, enhance team collaboration, and drive better results.

