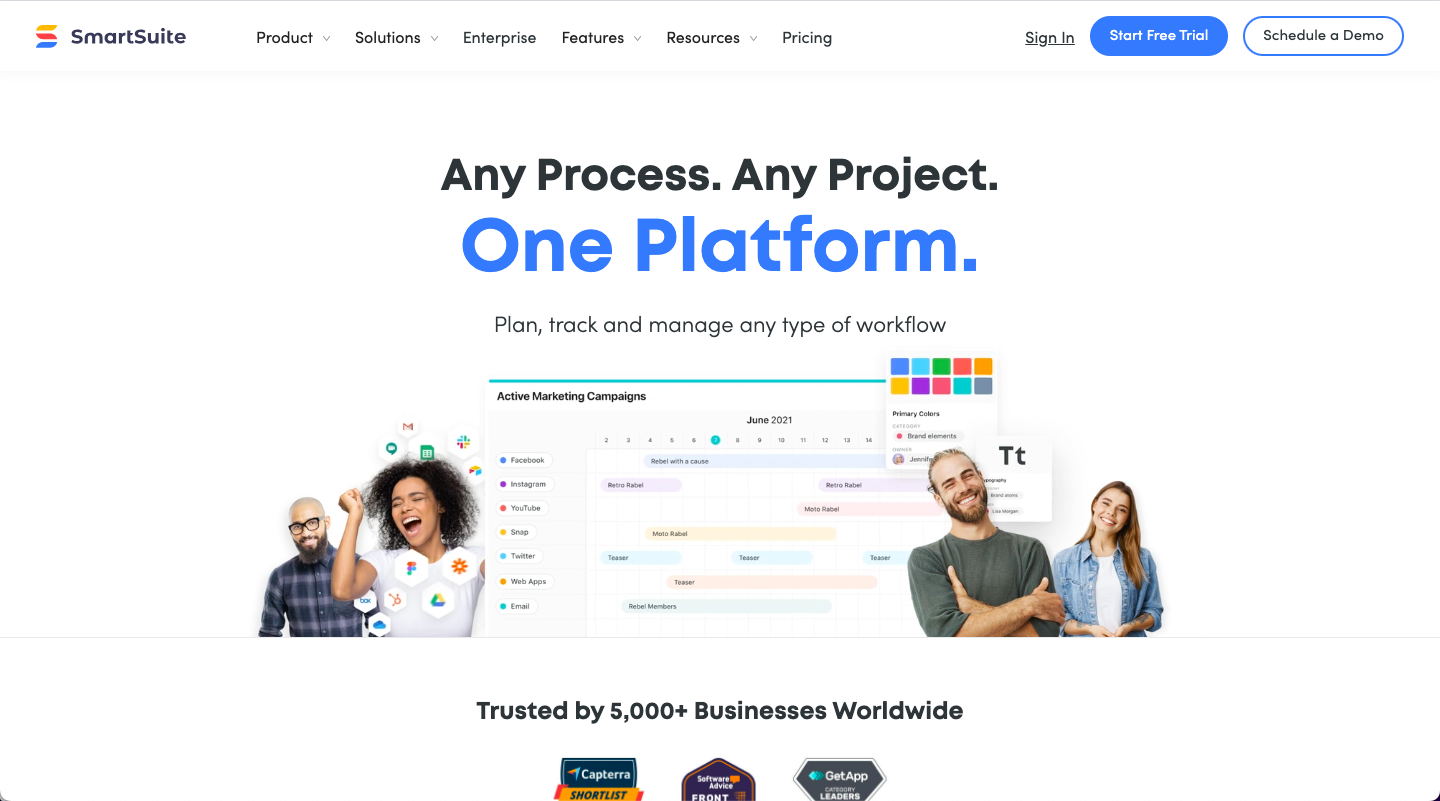
SmartSuite Calendar, a versatile tool within SmartSuite, serves as an invaluable asset for managing and organizing your content calendar. With its intuitive interface, customizable options, and powerful features, SmartSuite Calendar empowers you to plan, schedule, and track your content creation process efficiently.
Step 1: Creating a New Calendar
To begin using SmartSuite Calendar for your content calendar, navigate to the Calendar module and click the "Create New Calendar" button. Provide a descriptive name for your content calendar, such as "Content Calendar 2024".
Step 2: Adding Content Events
To add content events to your calendar, click the "Add New Event" button. Enter a title for your content item, such as "Blog Post: [Title of Blog Post]". Select the appropriate date and time for publishing the content.
Next, provide a brief description of the content item, outlining the key points or topics it will cover. Include any relevant links or attachments related to the content.
Step 3: Customizing Calendar Views
SmartSuite Calendar offers various view options to suit your preferences and needs. You can switch between daily, weekly, monthly, and year views to visualize your content schedule effectively.
Step 4: Assigning Color Codes
Assigning color codes to different content categories helps you quickly identify and differentiate between types of content. For example, you could use blue for blog posts, green for social media posts, and orange for email newsletters.
Step 5: Setting Reminders
Reminders ensure you don't miss important deadlines or upcoming content deadlines. Set reminders for individual content items or for specific categories of events.
Step 6: Collaborating with Team Members
SmartSuite Calendar facilitates collaboration among team members. Share your content calendar with colleagues, assign tasks, and track progress towards content goals.
Step 7: Analyzing Content Performance
Track the performance of your content by analyzing metrics such as engagement rates, click-through rates, and social media shares. This data helps you refine your content strategy and optimize for better results.
Step 8: Integrating with Other SmartSuite Modules
SmartSuite Calendar integrates seamlessly with other modules, allowing you to link content items to projects, tasks, and contacts. This streamlined approach enhances project management and collaboration.
Step 9: Automating Content Scheduling
SmartSuite Calendar provides the option to automate content scheduling, ensuring your content is published on time and consistently. This feature saves time and ensures a steady stream of fresh content.
Step 10: Regularly Review and Refine
Regularly review your content calendar to assess its effectiveness and identify areas for improvement. Adjust your strategy based on audience feedback, performance indicators, and industry trends.
By incorporating these steps and leveraging the power of SmartSuite Calendar, you can create a comprehensive and organized content calendar that drives engagement, increases brand awareness, and achieves your marketing objectives.